How to Play Murderer Sudoku: A Beginner’s Guide
Learn Murderer Sudoku rules, read the room and object clues, and follow a worked deduction to solve your first detective logic puzzle.
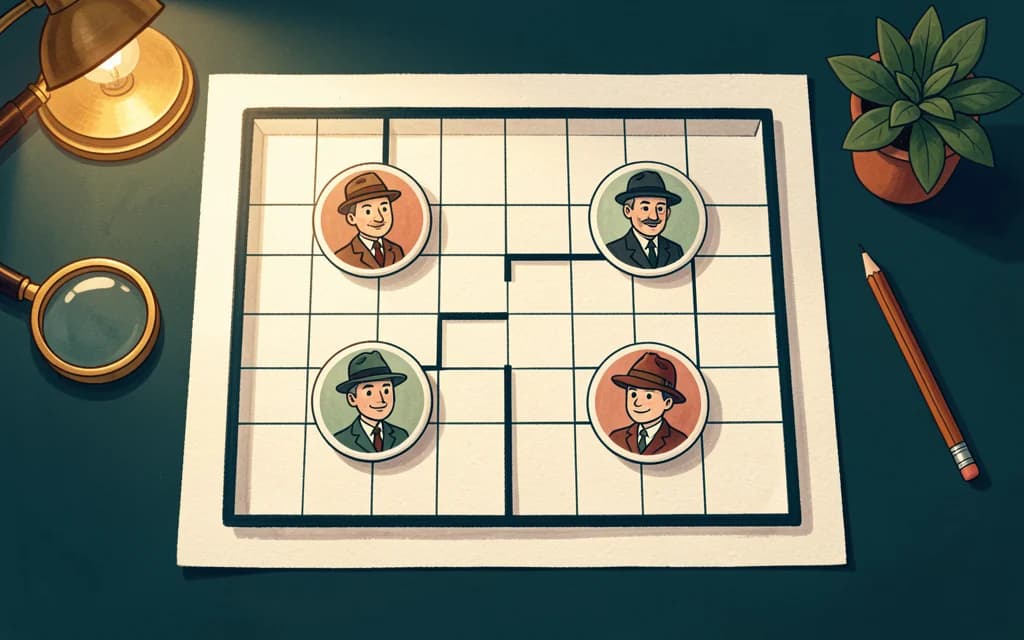
A whodunit you solve with positions, not guesses
A victim has been found, the suspects have given their statements, and every statement is true. Your job is to reconstruct where everyone stood. Murderer Sudoku combines row-and-column logic with a floor plan: once the arrangement is complete, the only suspect sharing the victim’s room is the culprit.
You do not need to decide whose personality seems suspicious. The portraits are character tokens, not evidence. Everything needed to solve the case is in the board, its rules and the written clues.
The five rules that matter
- Place each suspect exactly once. A 4×4 case has four suspects, not sixteen entries.
- Every row and every column must contain exactly one suspect. Most squares stay empty.
- The victim’s square is blocked: no suspect can occupy it.
- Exactly one suspect must be in the victim’s room. Other rooms may contain zero, one or several suspects if the clues allow it.
- All clues must match the finished arrangement. Meeting the row and column rules alone is not enough.
Unlike ordinary Sudoku, you are not filling every cell with a digit, and there is no rule requiring one of each suspect in every room. Numbers in Notes refer to people in the suspect lineup; they are not values to add or repeat.
Read the floor plan before placing anyone
First locate the victim and trace the walls around their room. Then find the objects named in the clues. Room boundaries determine which room a square belongs to; they do not block a positional clue about an object on the other side of a wall.
“At the clock” means the exact square containing the clock. “Beside the clock” means a square sharing an edge with it: above, below, left or right, never diagonal. “Directly north of the clock” means somewhere above it in the same column, not necessarily the next square.
When a clue compares suspects, read it differently: “east of” another suspect means a column farther right. It does not mean the same row, which would violate the one-suspect-per-row rule. “The only suspect in the room” excludes other suspects, not the victim.
A first deduction, step by step
Consider this small example, using columns A–D and rows 1–4. An exact-object clue places the caretaker at A1. The clock is at B2, and another statement says the lecturer is beside that clock.
- Place the caretaker at A1. No other suspect can now use row 1 or column A.
- The lecturer’s adjacent candidates are A2, C2, B1 and B3.
- Column A removes A2, and row 1 removes B1. The lecturer must be at C2 or B3.
- If a room clue rules out B3, C2 is the only remaining square. Place the lecturer there.
No single clue gave you C2. The answer came from combining adjacency, an occupied row and column, and the room restriction. After placing the lecturer, remove row 2 and column C from the remaining suspects’ candidates and repeat the process.
As a useful cross-check, a suspect cannot stand beside an object that another suspect occupies: all four adjacent squares share that person’s row or column. If your tentative arrangement creates this situation, revisit it rather than ignoring the one-per-row rule.
Use the controls to keep your reasoning clear
Select a suspect and then a square to place them, or select a square first and choose the suspect. To explore possibilities, turn on Notes and add the lineup numbers that remain possible in a square. A suspect with only one possible square is ready to place; a square with only one candidate may still be empty in the solution.
Undo and redo let you revisit a move. The evidence list checks your current arrangement: a matching clue is not a guarantee that every placement is correct. Keep checking the other clues and the victim’s room before treating a partial board as solved.
Choose your first case
Start on Easy at Blackwood Academy, St. Marlow Hospital or Willow House. The setting changes the surroundings and character roles, but not the rules. Each location has 20 cases across four difficulties, making 60 cases in the casebook. Grid sizes run from 4×4 on Easy to 7×7 on Expert.
Every case has one verified solution. When you want a shared challenge, open the daily case. Begin with the most specific evidence, update your candidates after each placement, and let the final room arrangement identify the murderer.